
MFC - Getting Started
In this chapter, we will look at a working MFC example. To create an MFC application, you can use wizards to customize your projects. You can also create an application from scratch.
Create Project Using Project Templates
Following are the steps to create a project using project templates available in Visual Studio.
Step 1 − Open the Visual studio and click on the File → New → Project menu option.
Step 2 − You can now see that the New Project dialog box is open.
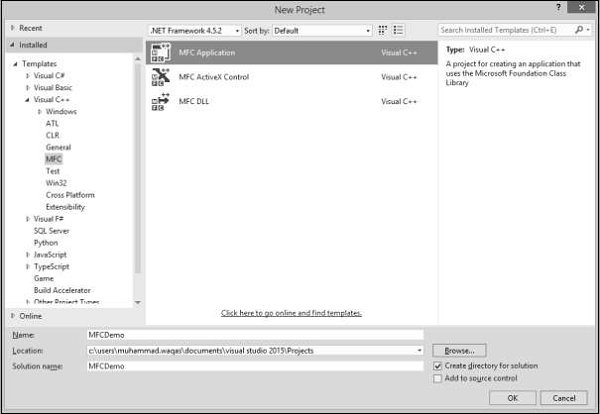
Step 3 − From the left pane, select Templates → Visual C++ → MFC
Step 4 − In the middle pane, select MFC Application.
Step 5 − Enter the project name ‘MFCDemo’ in the Name field and click OK to continue. You will see the following dialog.
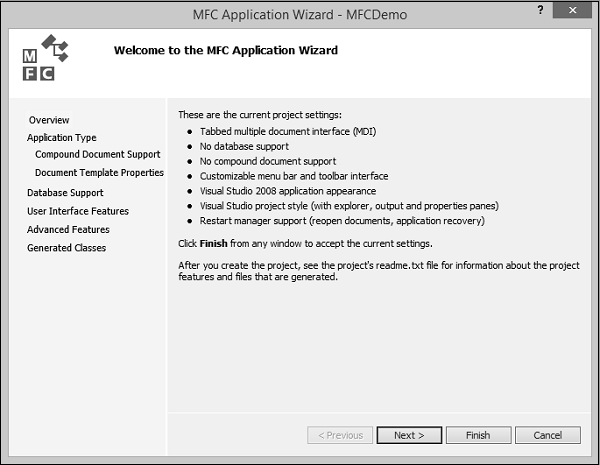
Step 6 − Click Next.
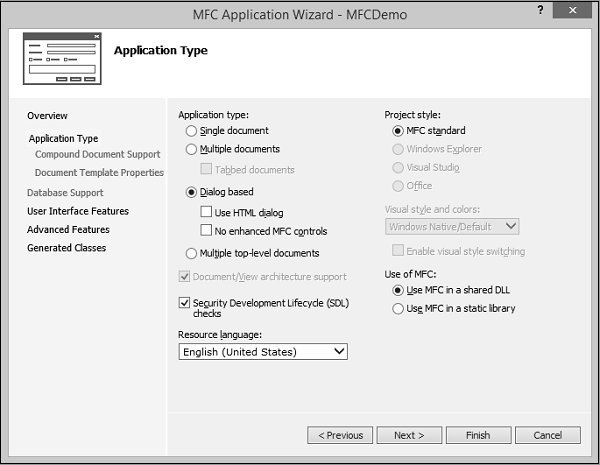
Step 7 − Select the options which are shown in the dialog box given above and click Next.

Step 8 − Uncheck all options and click Finish button.
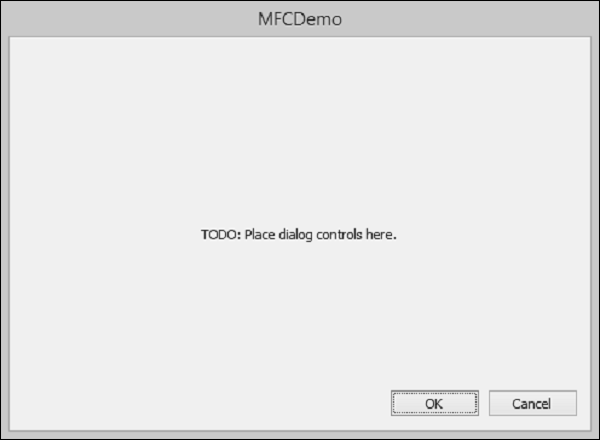
You can now see that the MFC wizard creates this Dialog Box and the project files by default.
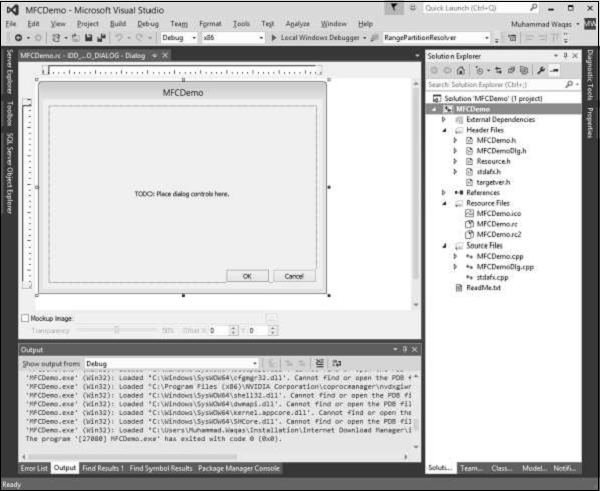
Step 9 − Run this application, you will see the following output.
Create Project from Scratch
You can also create an MFC application from scratch. To create an MFC application, you need to follow the following Steps.
Step 1 − Open the Visual studio and click on the File → New → Project menu option.
Step 2 − You can now see the New Project dialog box.
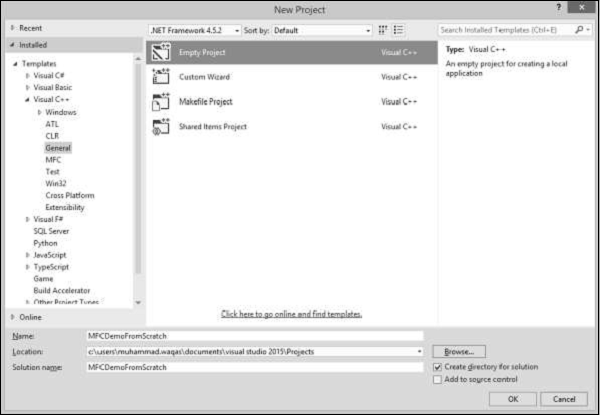
Step 3 − From the left pane, select Templates → Visual C++ → General.
Step 4 − In the middle pane, select Empty
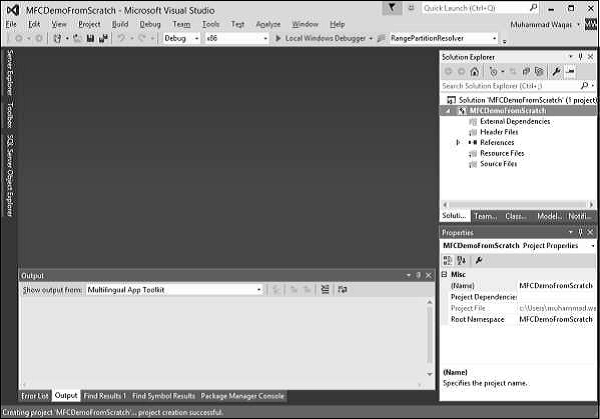
Step 5 − Enter project name ‘MFCDemoFromScratch’ in the Name field and click OK to continue. You will see that an empty project is created.
Step 6 − To make it an MFC project, right-click on the project and select Properties.
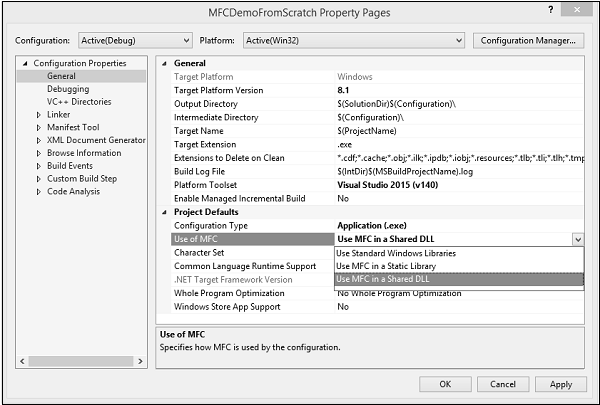
Step 7 − In the left section, click Configuration Properties → General.
Step 8 − Select the Use MFC in Shared DLL option in Project Defaults section and click OK.
Step 9 − As it is an empty project now; we need to add a C++ file. So, right-click on the project and select Add → New Item…
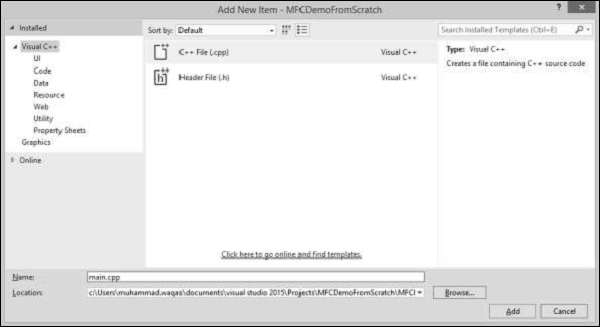
Step 10 − Select C++ File (.cpp) in the middle pane and enter file name in the Name field and click Add button.
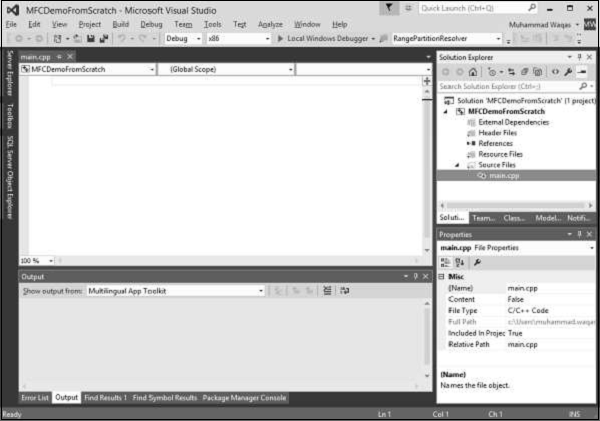
Step 11 − You can now see the main.cpp file added under the Source Files folder.
Step 12 − Let us add the following code in this file.
#include <iostream>
using namespace std;

void main() {
   cout << "***************************************\n";
   cout << "MFC Application Tutorial";
   cout << "\n***************************************";
   getchar();
}
Step 13 − When you run this application, you will see the following output on console.
***************************************
MFC Application Tutorial
***************************************


