MFC - Windows Layout
Layout of controls is very important and critical for application usability. It is used to arrange a group of GUI elements in your application. There are certain important things to consider while selecting layout −
- Positions of the child elements.
- Sizes of the child elements.
Adding controls
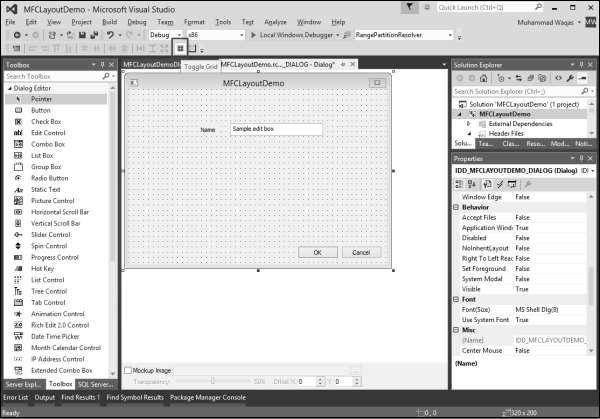
Let us create new Dialog based MFC Project MFCLayoutDemo.
Step 1 − Once the project is created, you will see the following screen.
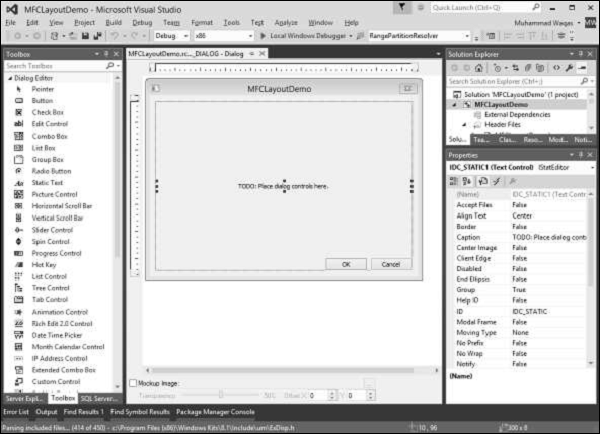
Step 2 − Delete the TODO from the dialog box.
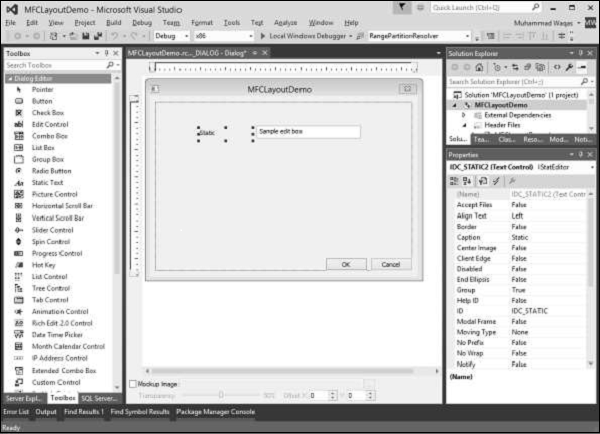
Step 3 − Drag some controls from the Toolbox which you can see on the left side.
(We will drag one Static Text and one Edit Control as shown in the following snapshot).
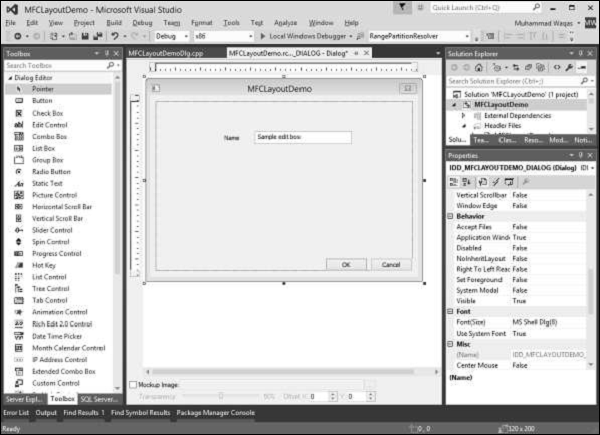
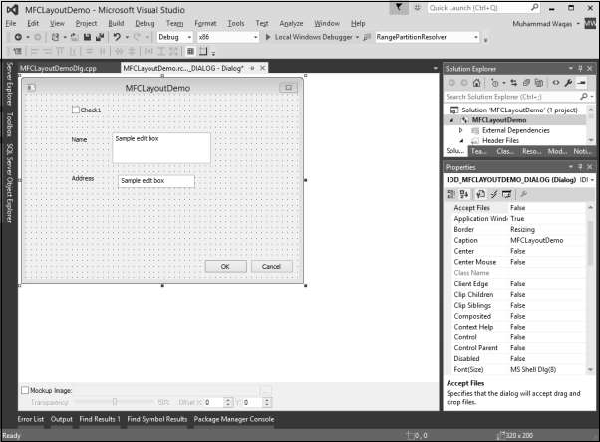
Step 4 − Change the Caption of the Static Text to Name.
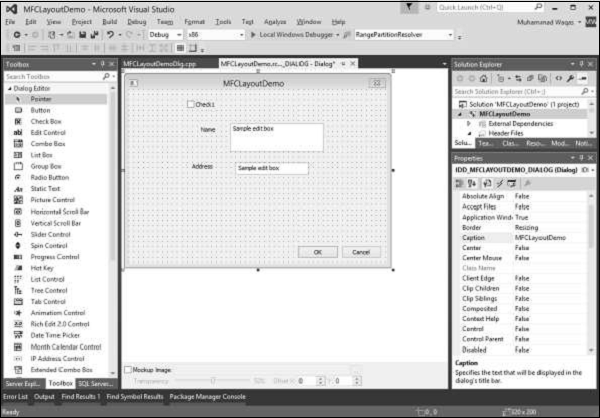
Control Grid
Control grid is the guiding grid dots, which can help in positioning of the controls you are adding at the time of designing.
To enable the control grid, you need to click the Toggle Grid button in the toolbar as shown in the following snapshot.
Controls Resizing
After you have added a control to a dialog box, it assumes either its default size or the size you drew it with. To help with the sizes of controls on the form or dialog box, Visual Studio provides a visual grid made of black points.
To resize a control, that is, to give it a particular width or height, position the mouse on one of the handles and drag it in the desired direction.

You can now resize the controls with the help of this dotted grid.
Controls Positions
The controls you position on a dialog box or a form assume their given place. Most of the time, these positions are not practical. You can move them around to any position of your choice.
Let us add some more controls −
Step 1 − To move a control, click and drag it in the desired direction until it reaches the intended position.
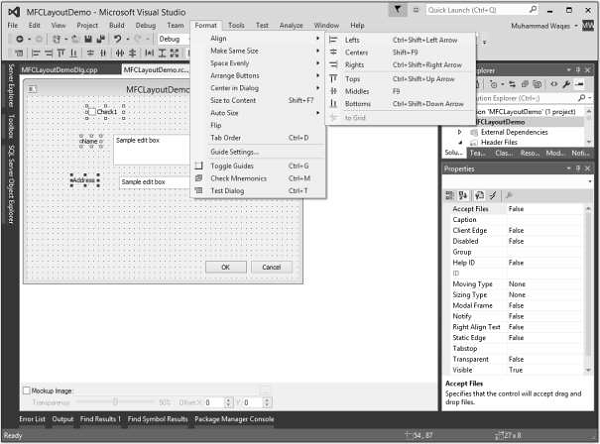
Step 2 − To move a group of controls, first select them. Then drag the selection to the desired location. Let us select the Static Texts and Edit Controls.
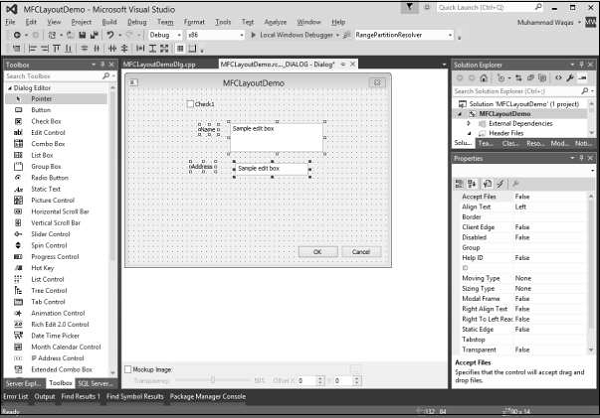
Step 3 − Move these selected controls to the left side.

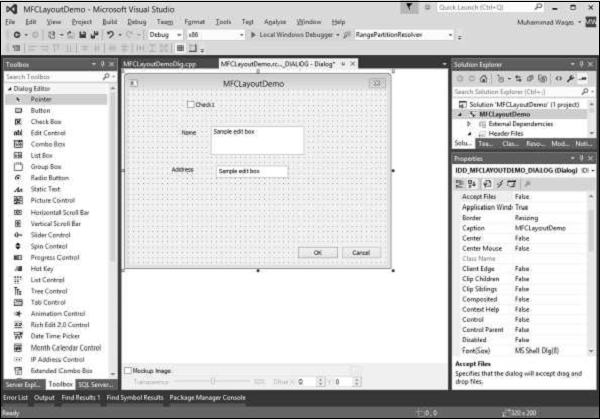
To help with positioning the controls, Visual Studio provides the Dialog toolbar with the following buttons.
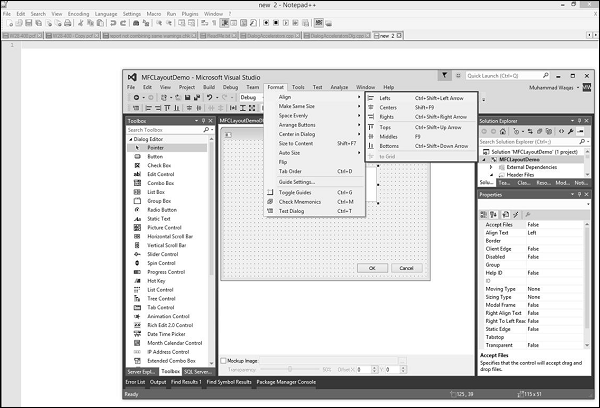
Step 1 − Let us align the Check box and Static Text controls to the left by selecting all these controls.
Step 2 − Select the Format → Align → Lefts.
Step 3 − You can now see all these controls are aligned to the left.
Tab Ordering
The controls you add to a form or a dialog box are positioned in a sequence that follows the order they were added. When you add control(s) regardless of the section or area you place the new control, it is sequentially positioned at the end of the existing controls. If you do not fix it, the user would have a hard time navigating the controls. The sequence of controls navigation is also known as the tab order.
To change the tab, you can either use the Format → Tab Order menu option or you can also use the Ctrl + D shortcut. Let us press Ctrl + D.

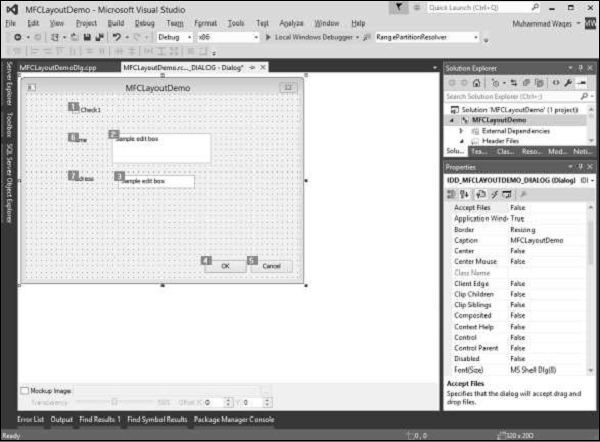
You can now see the order in which all these controls are added to this dialog box. To Change the order or sequence of controls, click on all the controls in sequence in which you want to navigate.
In this example, we will first click on the checkbox followed by Name and Address Edit controls. Then click OK and Cancel as shown in the following snapshot.
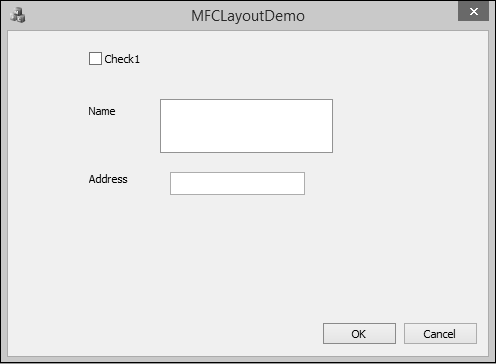
Let us run this application and you will see the following output.