Create a Table in Word 2010
In this chapter, we will discuss how to create a table in Word 2010. A table is a structure of vertical columns and horizontal rows with a cell at every intersection. Each cell can contain text or graphics, and you can format the table in any way you want. Usually the top row in the table is kept as a table header and can be used to put some informative instruction.
Create a Table
The following steps will help you understand how to create a table in a Word document.
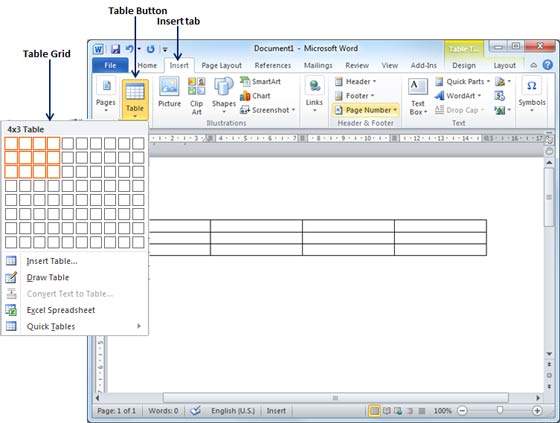
Step 1 − Click the Insert tab followed by the Table button. This will display a simple grid as shown below. When you move your mouse over the grid cells, it makes a table in the table that appears in the document. You can make your table having the desired number of rows and columns.
Step 2 − Click the square representing the lower-right corner of your table, which will create an actual table in your document and Word goes in the table design mode. The table design mode has many options to work with as shown below.

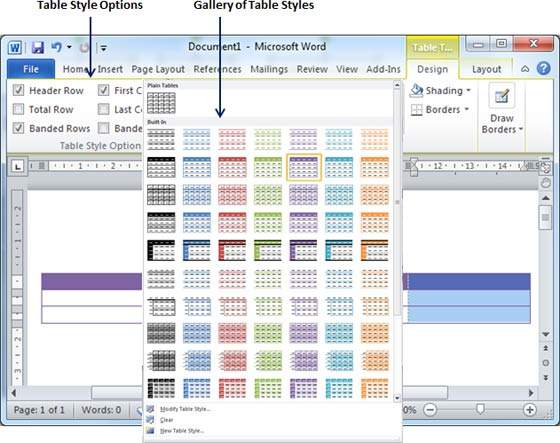
Step 3 − This is an optional step that can be worked out if you want to have a fancy table. Click the Table Styles button to display a gallery of table styles. When you move your mouse over any of the styles, it shows real time preview of your actual table.
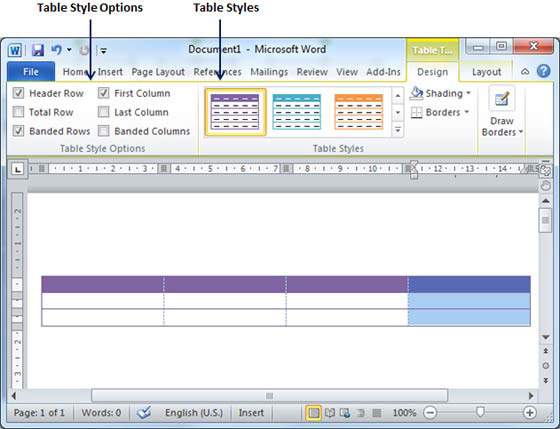
Step 4 − To select any of the styles, just click the built-in table style and you will see that the selected style has been applied on your table.
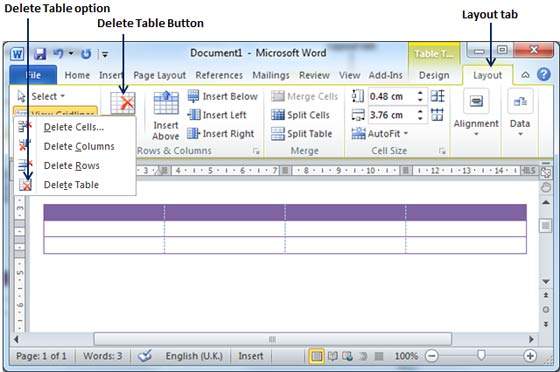
Delete a Table
Following are the simple steps to delete an existing table from a word document.
Step 1 − Click anywhere in the table you want to delete.
Step 2 − Click the Layout tab, and click the Delete Table option under the Delete Table Button to delete the complete table from the document along with its content.