Windows Server 2012 - Backup Management
In this chapter, we will install and configure Backup which does not differ too much from the previous versions.
To Install the backup feature, we should follow the steps given below.
Step 1 − Go to Server Manager → Manage → Add Roles and Features → Next → Check the Role-based or feature-based installation box → then check on the Select a server from the server pool box and then click Next.
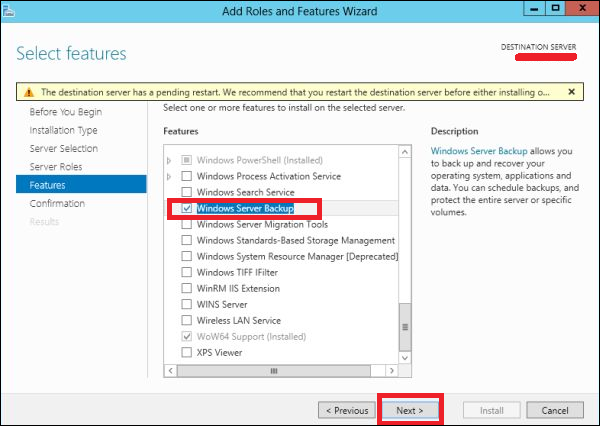
Once all this is done, check the Windows Backup Server box and then click on Next as shown in the following screenshot.
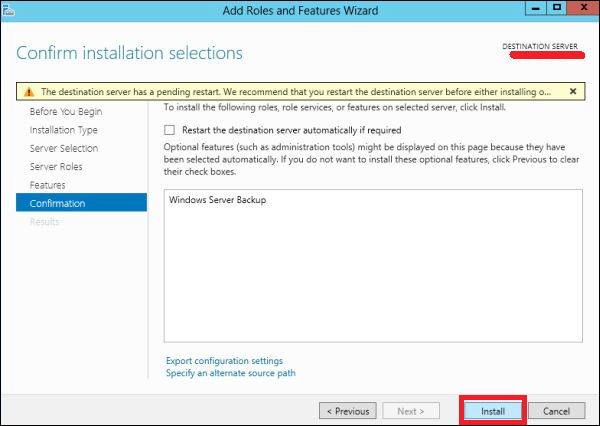
Step 2 − Click Install and then wait for the process to Finish.
Now let us go and Configure the Backup Feature it, for which we should follow the steps given below.
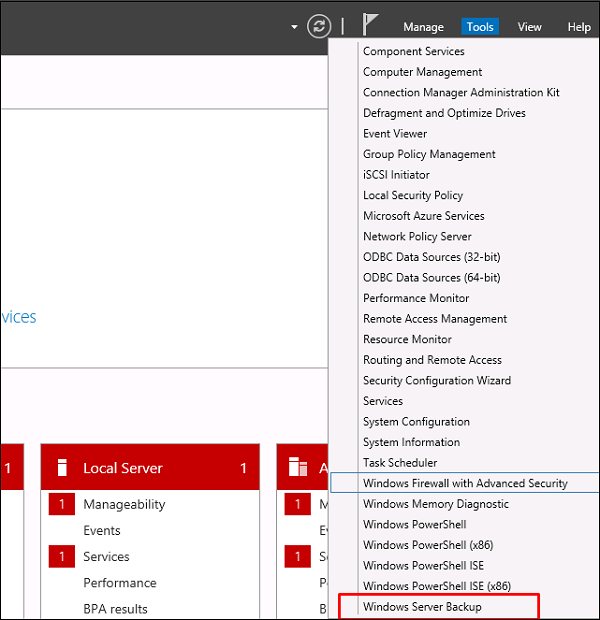
Step 1 − Go to Server Manager → Tools → Windows Server Backup.
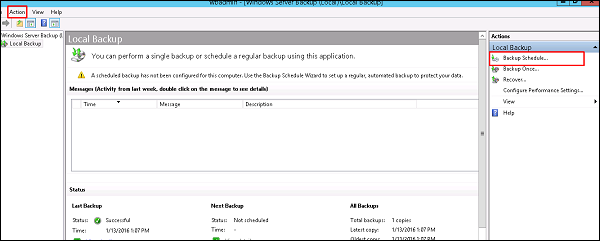
Step 2 − Click on Backup Schedule… in the left side panel or click on Action at the top of the screen as shown in the following screenshot.
Step 3 − Click Next.
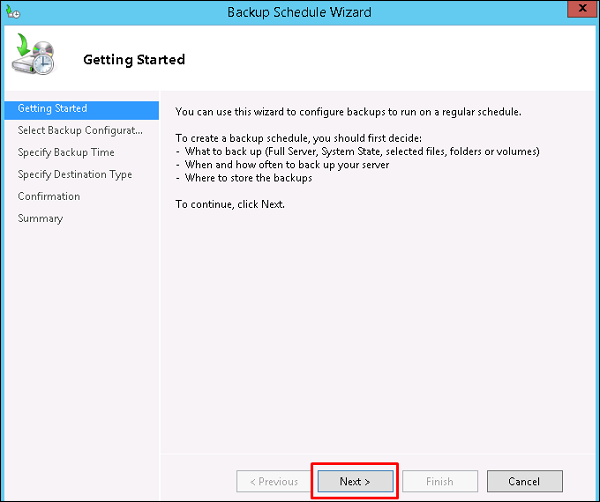
Step 4 − If you want to backup a file or a folder, you can click on custom file, but in this case I want to do a full backup of the server. So, we should click on the first option Full server (recommended) and then click Next.
Step 5 − We should do backup once in a day, so we will choose the first option and the appropriate time, which generally is recommended at night → Next.

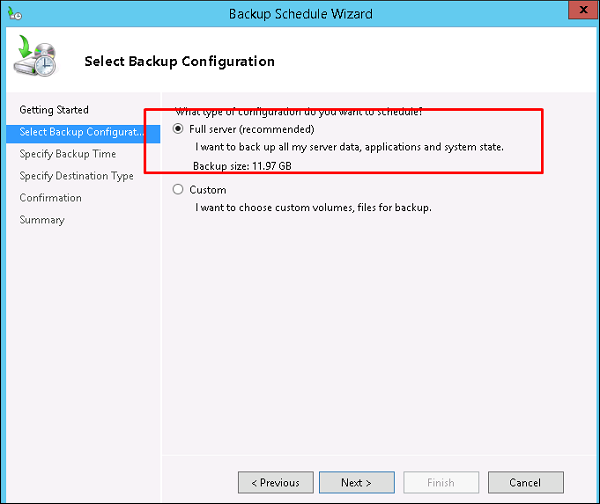
Step 6 − We should not click on the Back Up to a shared network folder option because the backup should be saved somewhere out of the server that is being backed up and then click on Next.
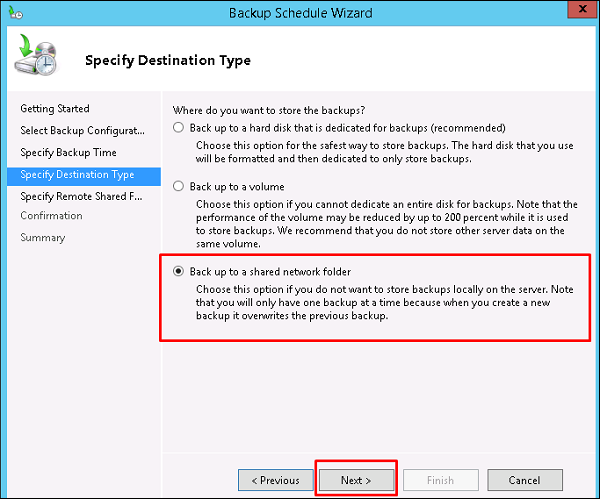
Step 7 − At the location, put the shared folder path and then → Next.
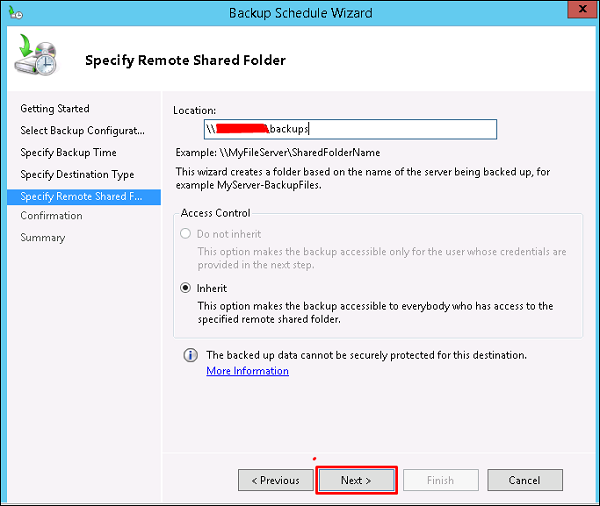
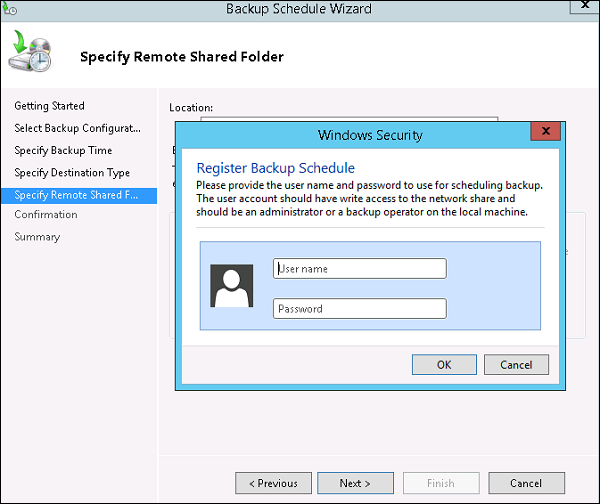
Step 8 − It will pop-up a credentials table asking you for the username and password of the shared folder which you should put here and then click → OK.
Step 9 − Click the Finish button.
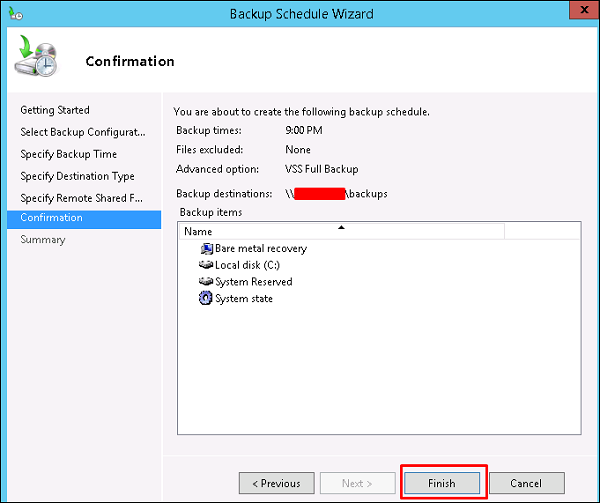
Step 10 − Now you will get a window showing the status if the backup was created successfully or not, which can be seen in the following screenshot.


