
Windows Server 2012 - DNS Role
DNS Role is one of the most important services in a network with Domain Controllers Environment. It helps us to resolve domain names internally and externally to IP and to have access to the requested service for the respective domain.
Let us now see how to install the DNS Role. For this we need to follow the steps given below.
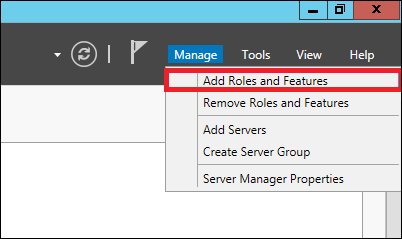
Step 1 − To Install DNS role, go to “Server Manager” → Manage → Add Roles and Features.
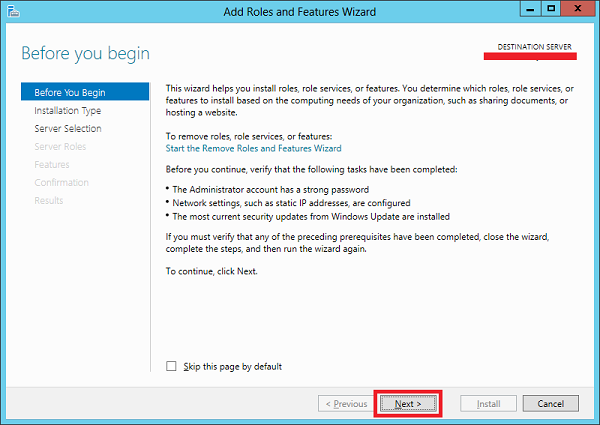
Step 2 − Click Next.
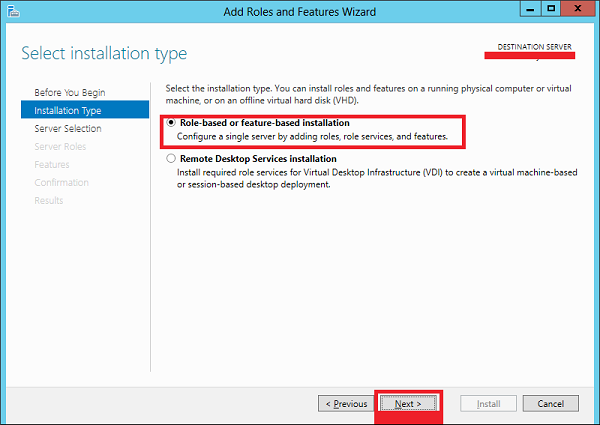
Step 3 − Select the Role-based or feature-based installation option and then click Next.
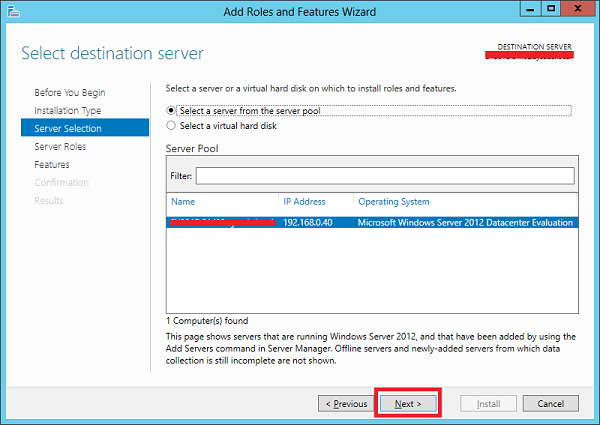
Step 4 − We will install a Local DNS role as it will select a server from the server pool → and then click Next.
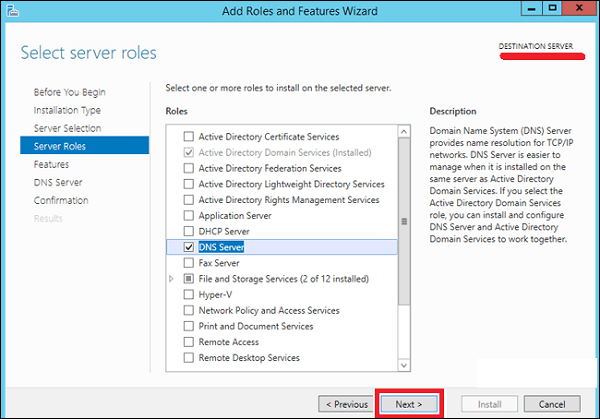
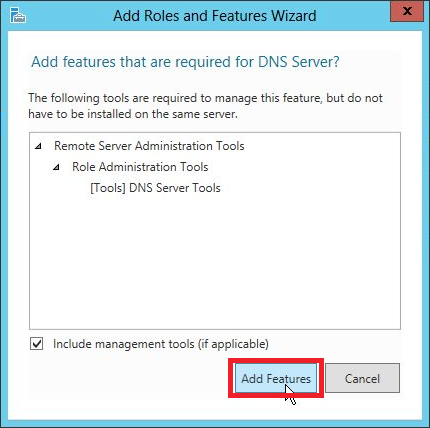
Step 5 − From the Server Roles lists, check the DNS Server role → click Add Features on the popup windows and then click Next.
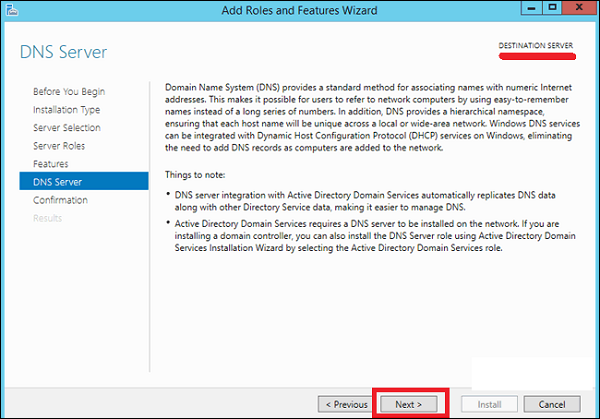
Step 6 − Click Next.
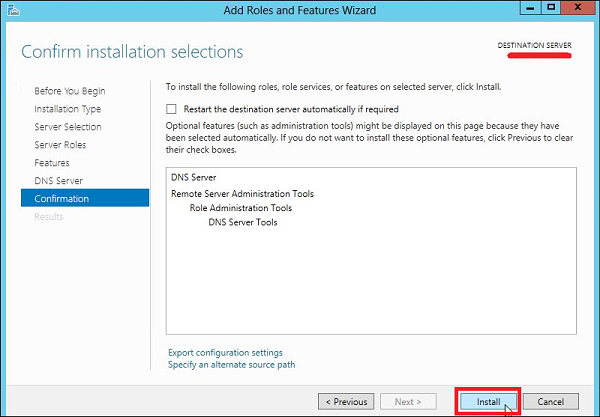
Step 7 − Click Install.
Step 8 − Wait until installation bar is complete.
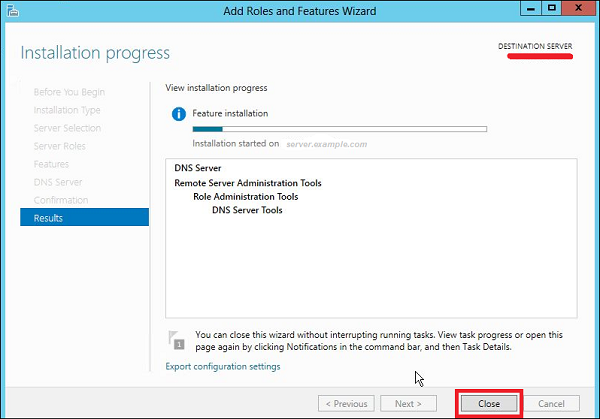
Once the installation is finished, click on Close.


