
ASP.NET Core - Authorize Attribute
In this chapter, we will discuss the Authorize Attribute. So far in our application, we have allowed anonymous users to do anything. They can edit employee details, and view details, but we don’t have the functionality to create a new employee. Let us first add the create feature and then we will restrict the user access using Authorize attribute.
We need to start by creating a new MVC View page inside Views → Home folder and call it Create.cshtml and then add the following code.
@model Employee
@{
   ViewBag.Title = "Create";
}
<h1>Create</h1>

@using (Html.BeginForm()) {
   <div>
      @Html.LabelFor(m => m.Name)
      @Html.EditorFor(m => m.Name)
      @Html.ValidationMessageFor(m => m.Name)
   </div>

   <div>
      <input type = "submit" value = "Save" />
   </div>
}
We will now add the action method in the HomeController for both POST and GET as shown in the following program.
[HttpGet]
public ViewResult Create() {
   return View();
}
[HttpPost]
public IActionResult Create(EmployeeEditViewModel model) {
   if (ModelState.IsValid) {
      var employee = new Employee();
      employee.Name = model.Name;
      var context = new FirstAppDemoDbContext();

      SQLEmployeeData sqlData = new SQLEmployeeData(context);
      sqlData.Add(employee);
      return RedirectToAction("Details", new { id = employee.Id });
   }
   return View();
}
Let us add a link to Create View in the Index.cshtml file as shown in the following program.
@model HomePageViewModel
@{
   ViewBag.Title = "Home";
}
<h1>Welcome!</h1>

<table>
   @foreach (var employee in Model.Employees) {
   <tr>
      <td>@employee.Name
         <td>
            <a asp-controller = "Home" asp-action = "Details"
               asp-routeid = "@employee.Id">Details</a>

            <a asp-controller = "Home" asp-action = "Edit"
               asp-routeid = "@employee.Id">Edit</a>
         </td>
      </tr>
   }
</table>

<div>
   <a asp-action = "Create">Create</a>
</div>
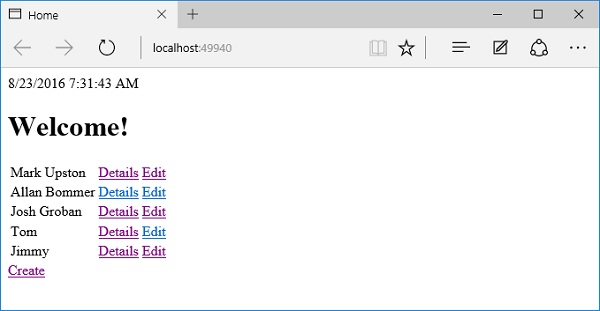
Run the application; you will see the following page.
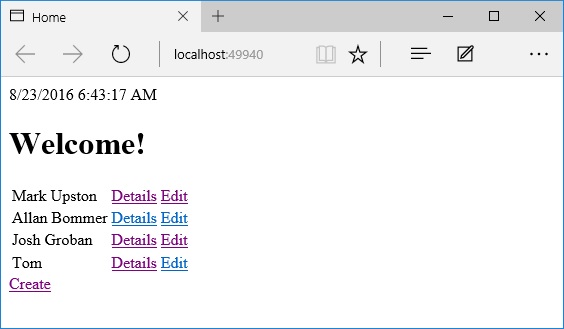
On the home page, you will see the Create link. When you click the Create link, it will take you to the Create View.
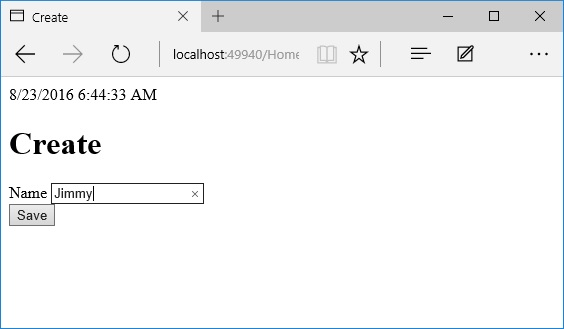
Enter a name in the Name field and click the Save button.
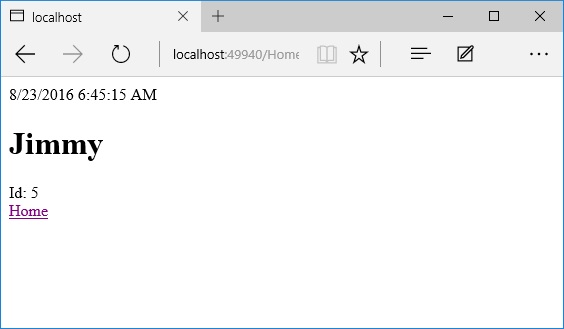
You will now see the detail view of the newly added employee. Let us click the Home link.
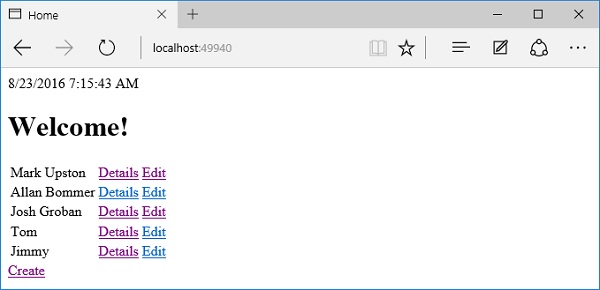
In this application, every user can create, edit an employee, and everyone can see the detail view. We want to change this behavior so that in the future, anonymous users can only see the list of employees on the home page, but every other action requires the user to identify themselves and sign in. We can do this with the Authorize attribute.
You can place the Authorize attribute on a controller or on individual actions inside the controller.
[Authorize]
public class HomeController : Controller {
   //....
}
When we place the Authorize attribute on the controller itself, the authorize attribute applies to all of the actions inside.
The MVC framework will not allow a request to reach an action protected by this attribute unless the user passes an authorization check.
By default, if you use no other parameters, the only check the Authorize attribute will make is a check to ensure the user is logged in so we know their identity.
But you can use parameters to specify any fancy custom authorization policy that you like.
There is also an AllowAnonymous attribute. This attribute is useful when you want to use the Authorize attribute on a controller to protect all of the actions inside, but then there is this single action or one or two actions that you want to unprotect and allow anonymous users to reach that specific action.
[AllowAnonymous]
public ViewResult Index() {
   var model = new HomePageViewModel();

   using (var context = new FirstAppDemoDbContext()) {
      SQLEmployeeData sqlData = new SQLEmployeeData(context);
      model.Employees = sqlData.GetAll();
   }
   return View(model);
}
Let us try these attributes in our application. In the running application, an anonymous user can edit an employee.

We want to change this and force the users to log in and identify themselves before they can edit an employee. Let us now go into the HomeController. We will restrict access to one or two actions here. We can always place the Authorize attribute on those specific actions that we want to protect. We can also place the Authorize attribute on the controller itself, and this Authorize attribute is in the Microsoft.AspNet.Authorization namespace.
We will now use the Authorize attribute and force users to identify themselves to get into this controller except for the home page as shown in the following program.
[Authorize]
public class HomeController : Controller {
   [AllowAnonymous]
   public ViewResult Index() {
      var model = new HomePageViewModel();
      using (var context = new FirstAppDemoDbContext()) {
         SQLEmployeeData sqlData = new SQLEmployeeData(context);
         model.Employees = sqlData.GetAll();
      }
      return View(model);
   }
   public IActionResult Details(int id) {
      var context = new FirstAppDemoDbContext();
      SQLEmployeeData sqlData = new SQLEmployeeData(context);
      var model = sqlData.Get(id);

      if (model == null) {
         return RedirectToAction("Index");
      }
      return View(model);
   }
   [HttpGet]
   public IActionResult Edit(int id) {
      var context = new FirstAppDemoDbContext();
      SQLEmployeeData sqlData = new SQLEmployeeData(context);
      var model = sqlData.Get(id);

      if (model == null) {
         return RedirectToAction("Index");
      }
      return View(model);
   }
   [HttpPost]
   public IActionResult Edit(int id, EmployeeEditViewModel input) {
      var context = new FirstAppDemoDbContext();
      SQLEmployeeData sqlData = new SQLEmployeeData(context);
      var employee = sqlData.Get(id);

      if (employee != null && ModelState.IsValid) {
         employee.Name = input.Name;
         context.SaveChanges();
         return RedirectToAction("Details", new { id = employee.Id });
      }
      return View(employee);
   }
   [HttpGet]
   public ViewResult Create() {
      return View();
   }
   [HttpPost]
   public IActionResult Create(EmployeeEditViewModel model) {
      if (ModelState.IsValid) {
         var employee = new Employee();
         employee.Name = model.Name;
         var context = new FirstAppDemoDbContext();

         SQLEmployeeData sqlData = new SQLEmployeeData(context);
         sqlData.Add(employee);
         return RedirectToAction("Details", new { id = employee.Id });
      }
      return View();
   }
}
The home page or the Index.cshtml file that displays the list of employees have the AllowAnonymous attribute. Let us now run your application.
Press the F12 key which will open developer tools. Now, go to the Network tab.
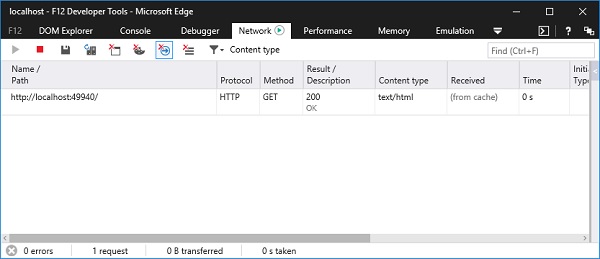
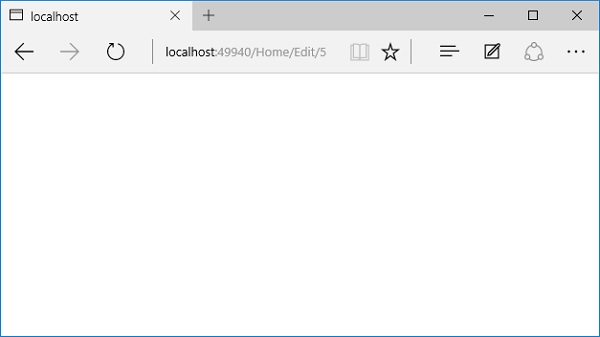
There are a couple of things that we want to watch in the developer tools, so we can see how things work. When you click the Edit link, you will see a blank page.
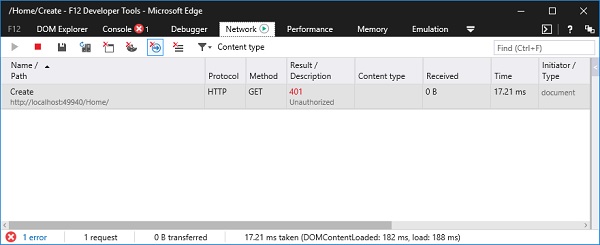
If you look at the developer tools, you will see that the HTTP status code that was returned from the server was a 401 status code.

The 401 status code tells the browser that the request was not allowed through because it lacked valid authentication credentials. This tells us that the Authorize attribute is working.
Similarly, when you click the Create link on the home page, you will see the same error as shown in the following screenshot.
Here, the bad part is that the user is left on a blank page and unless they have the developer tools open, they may not know that this was an authentication problem.
This is where the Identity framework can step in and help.
The Identity framework can detect when a piece of the application wants to return the 401 status code because the user is not allowed to get there, and the Identity framework can turn that into a login page and allow the user to get past this problem.
We will see how that works once we get the Identity framework installed and configured.
But right now, we can see that the Authorize attribute is working.


