Splunk - Environment
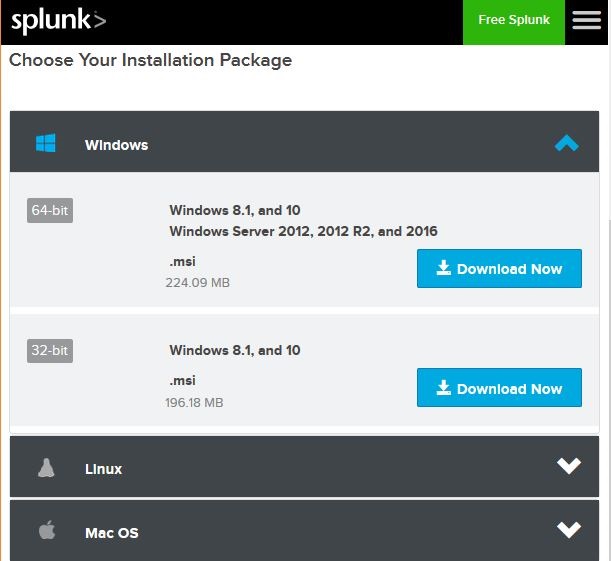
Setting up the Splunk environment is very straight forward. In this tutorial we will aim to install the enterprise version. This version is available for a free evaluation for 60 days with all features enabled. We can go to the link Splunk Download to download it. It is available for both windows and Linux platforms.
Linux Version
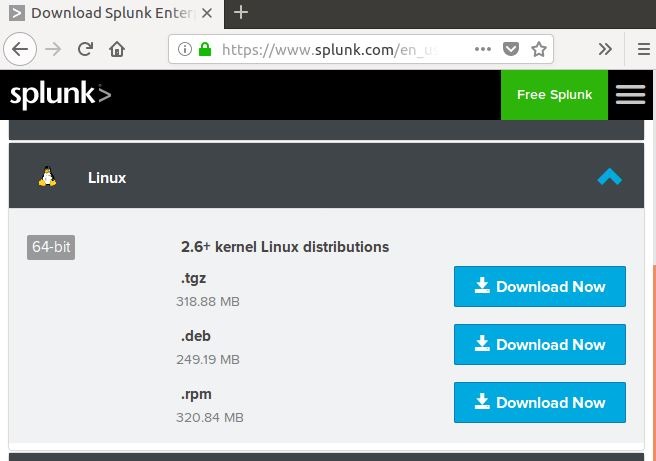
The linux version is downloaded from the download page shown above. We choose the .deb packge type as we will be doing this installation in a ubuntu platform.
Below is the step-by-step installation.
Step-1
Download the .deb package as shown in the screen shot below.
Step-2
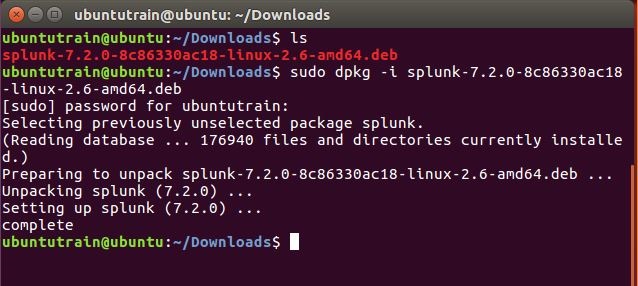
Go to the download directory and install Splunk using the above downloaded package.
Step-3
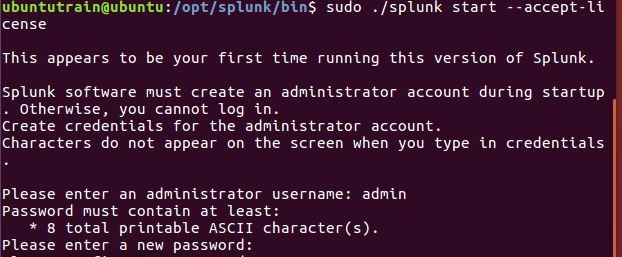
Next you can start Splunk by using the following command with accept license argument. It will ask for administrator user name and password which you should provide and remember.
Step-4
The Splunk server starts and mentions the URL where the Splunk interface can be accessed.
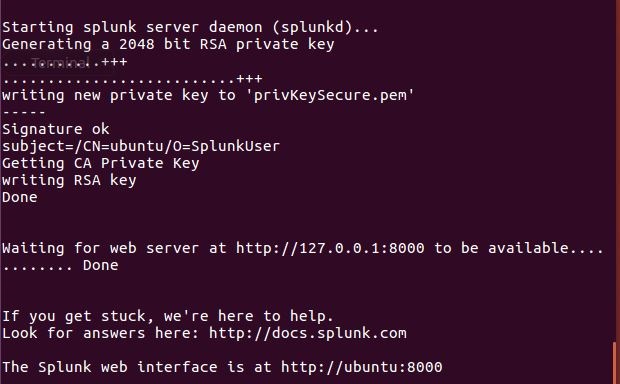
Step-5
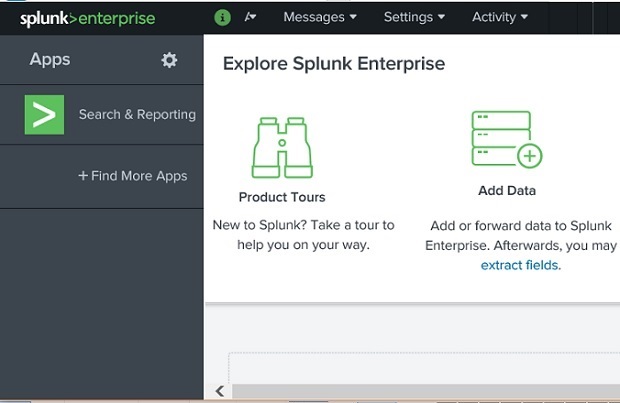
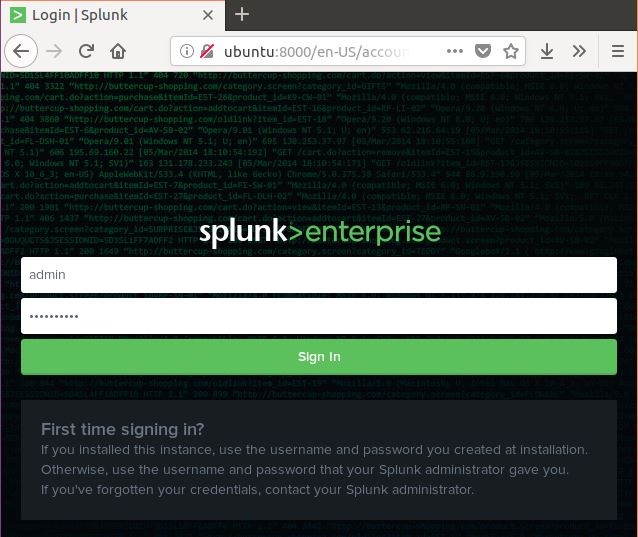
Now you can access the Splunk URL and input the admin user ID and password created in step-3.
Windows version
The windows version is available as a msi installer as shown in the below diagram.
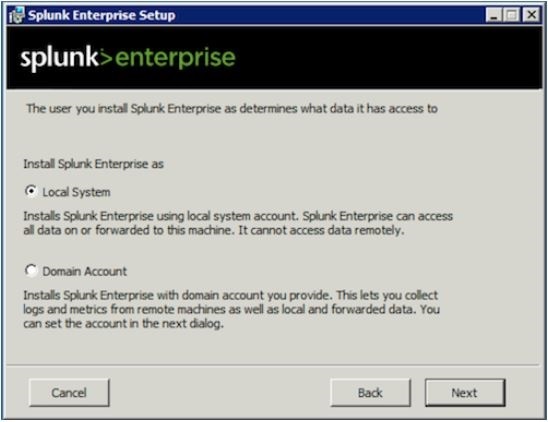
Double clicking the msi installer installs the windows version in a straight forward process. The two important steps where we must make the right choice to make a successful installation are as follows.
Step-1
Choose the local system, as we are making an installation on local system we choose this option.
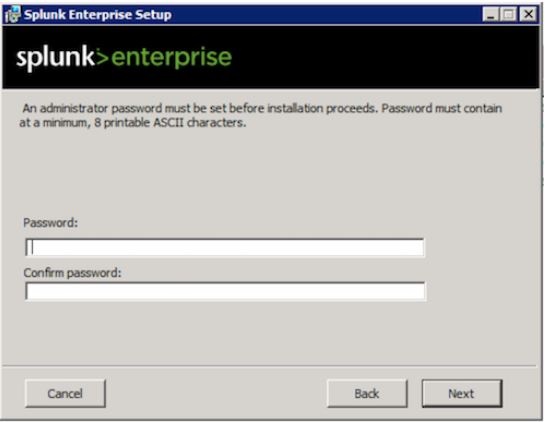
Step-2
Input the password for the administrator and remember it, as it will be used in the future configurations.
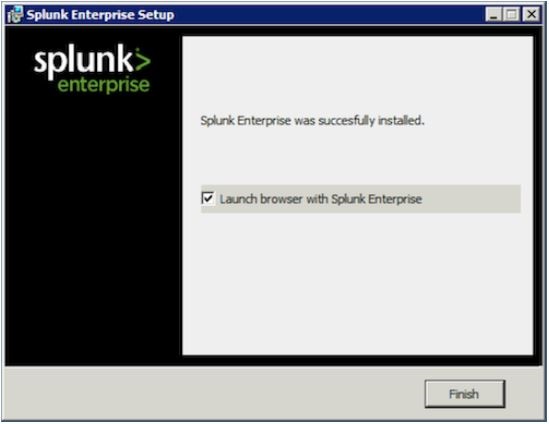
Step-3
In the final step we see that Splunk is successfully installed and it can be launched form the web browser.
Step-4
Next, we point the browser to using the url https://localhost:8000 and get the Splunk screen after logging in using the admin user ID and password.